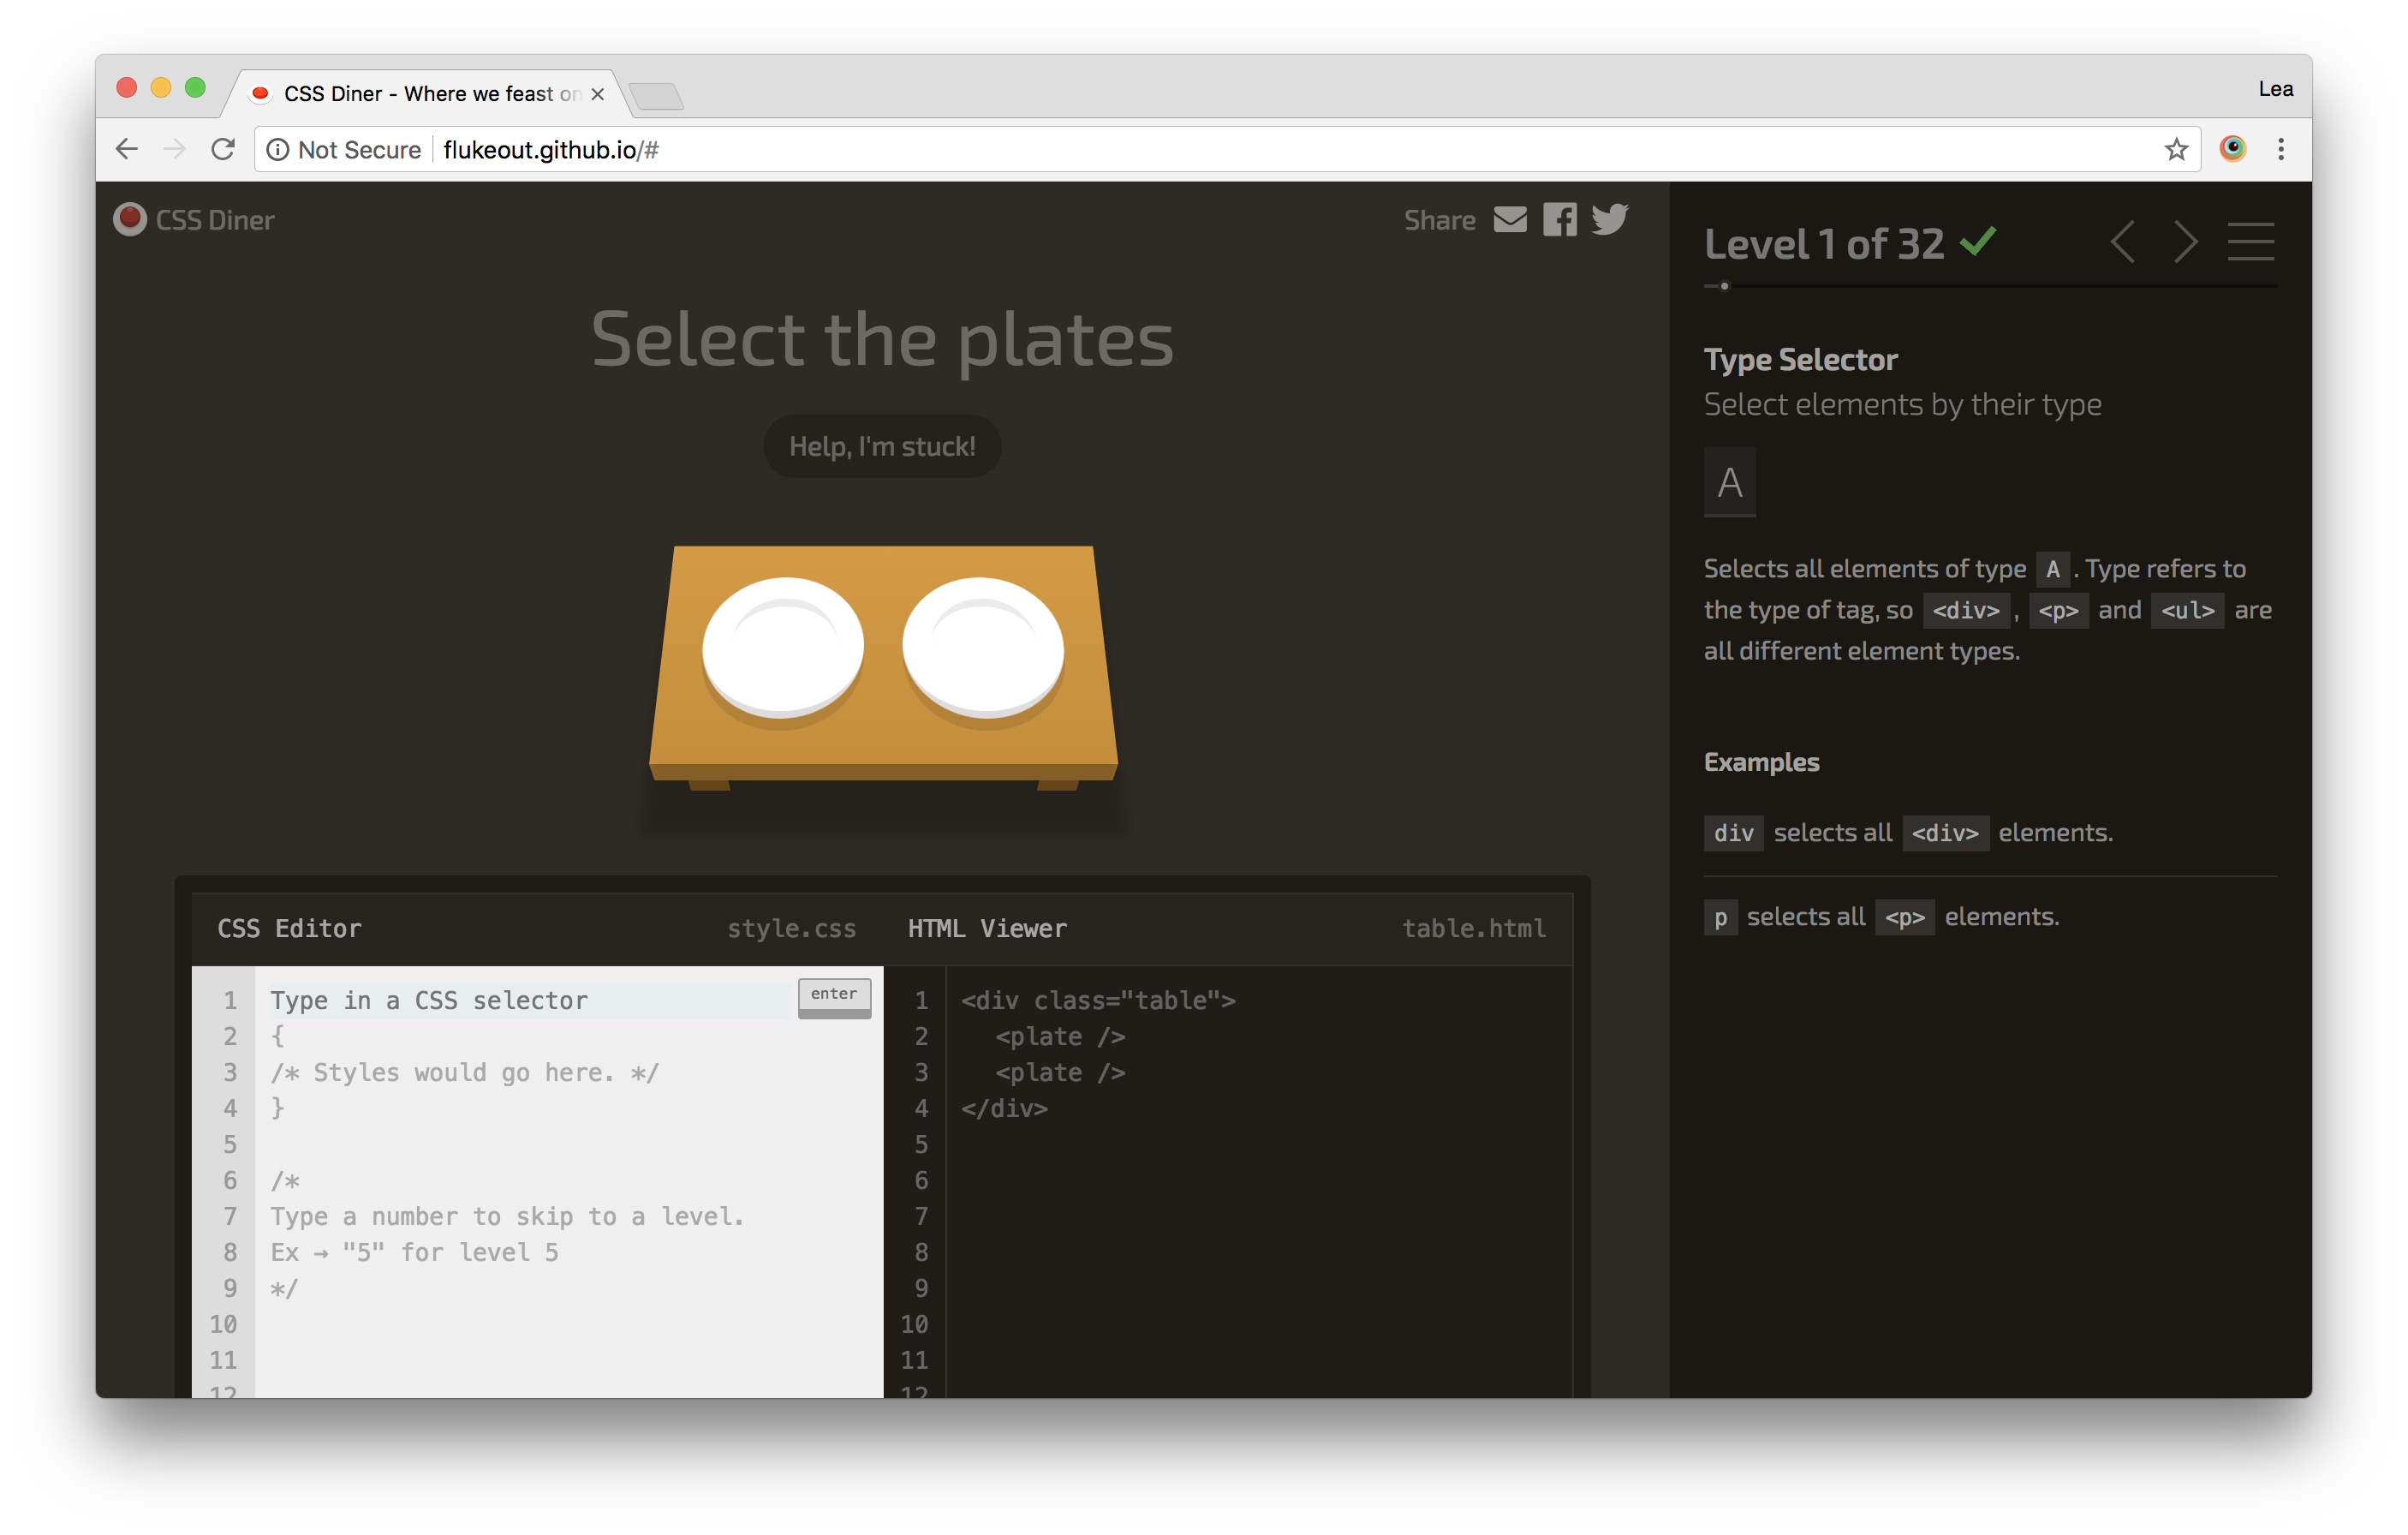
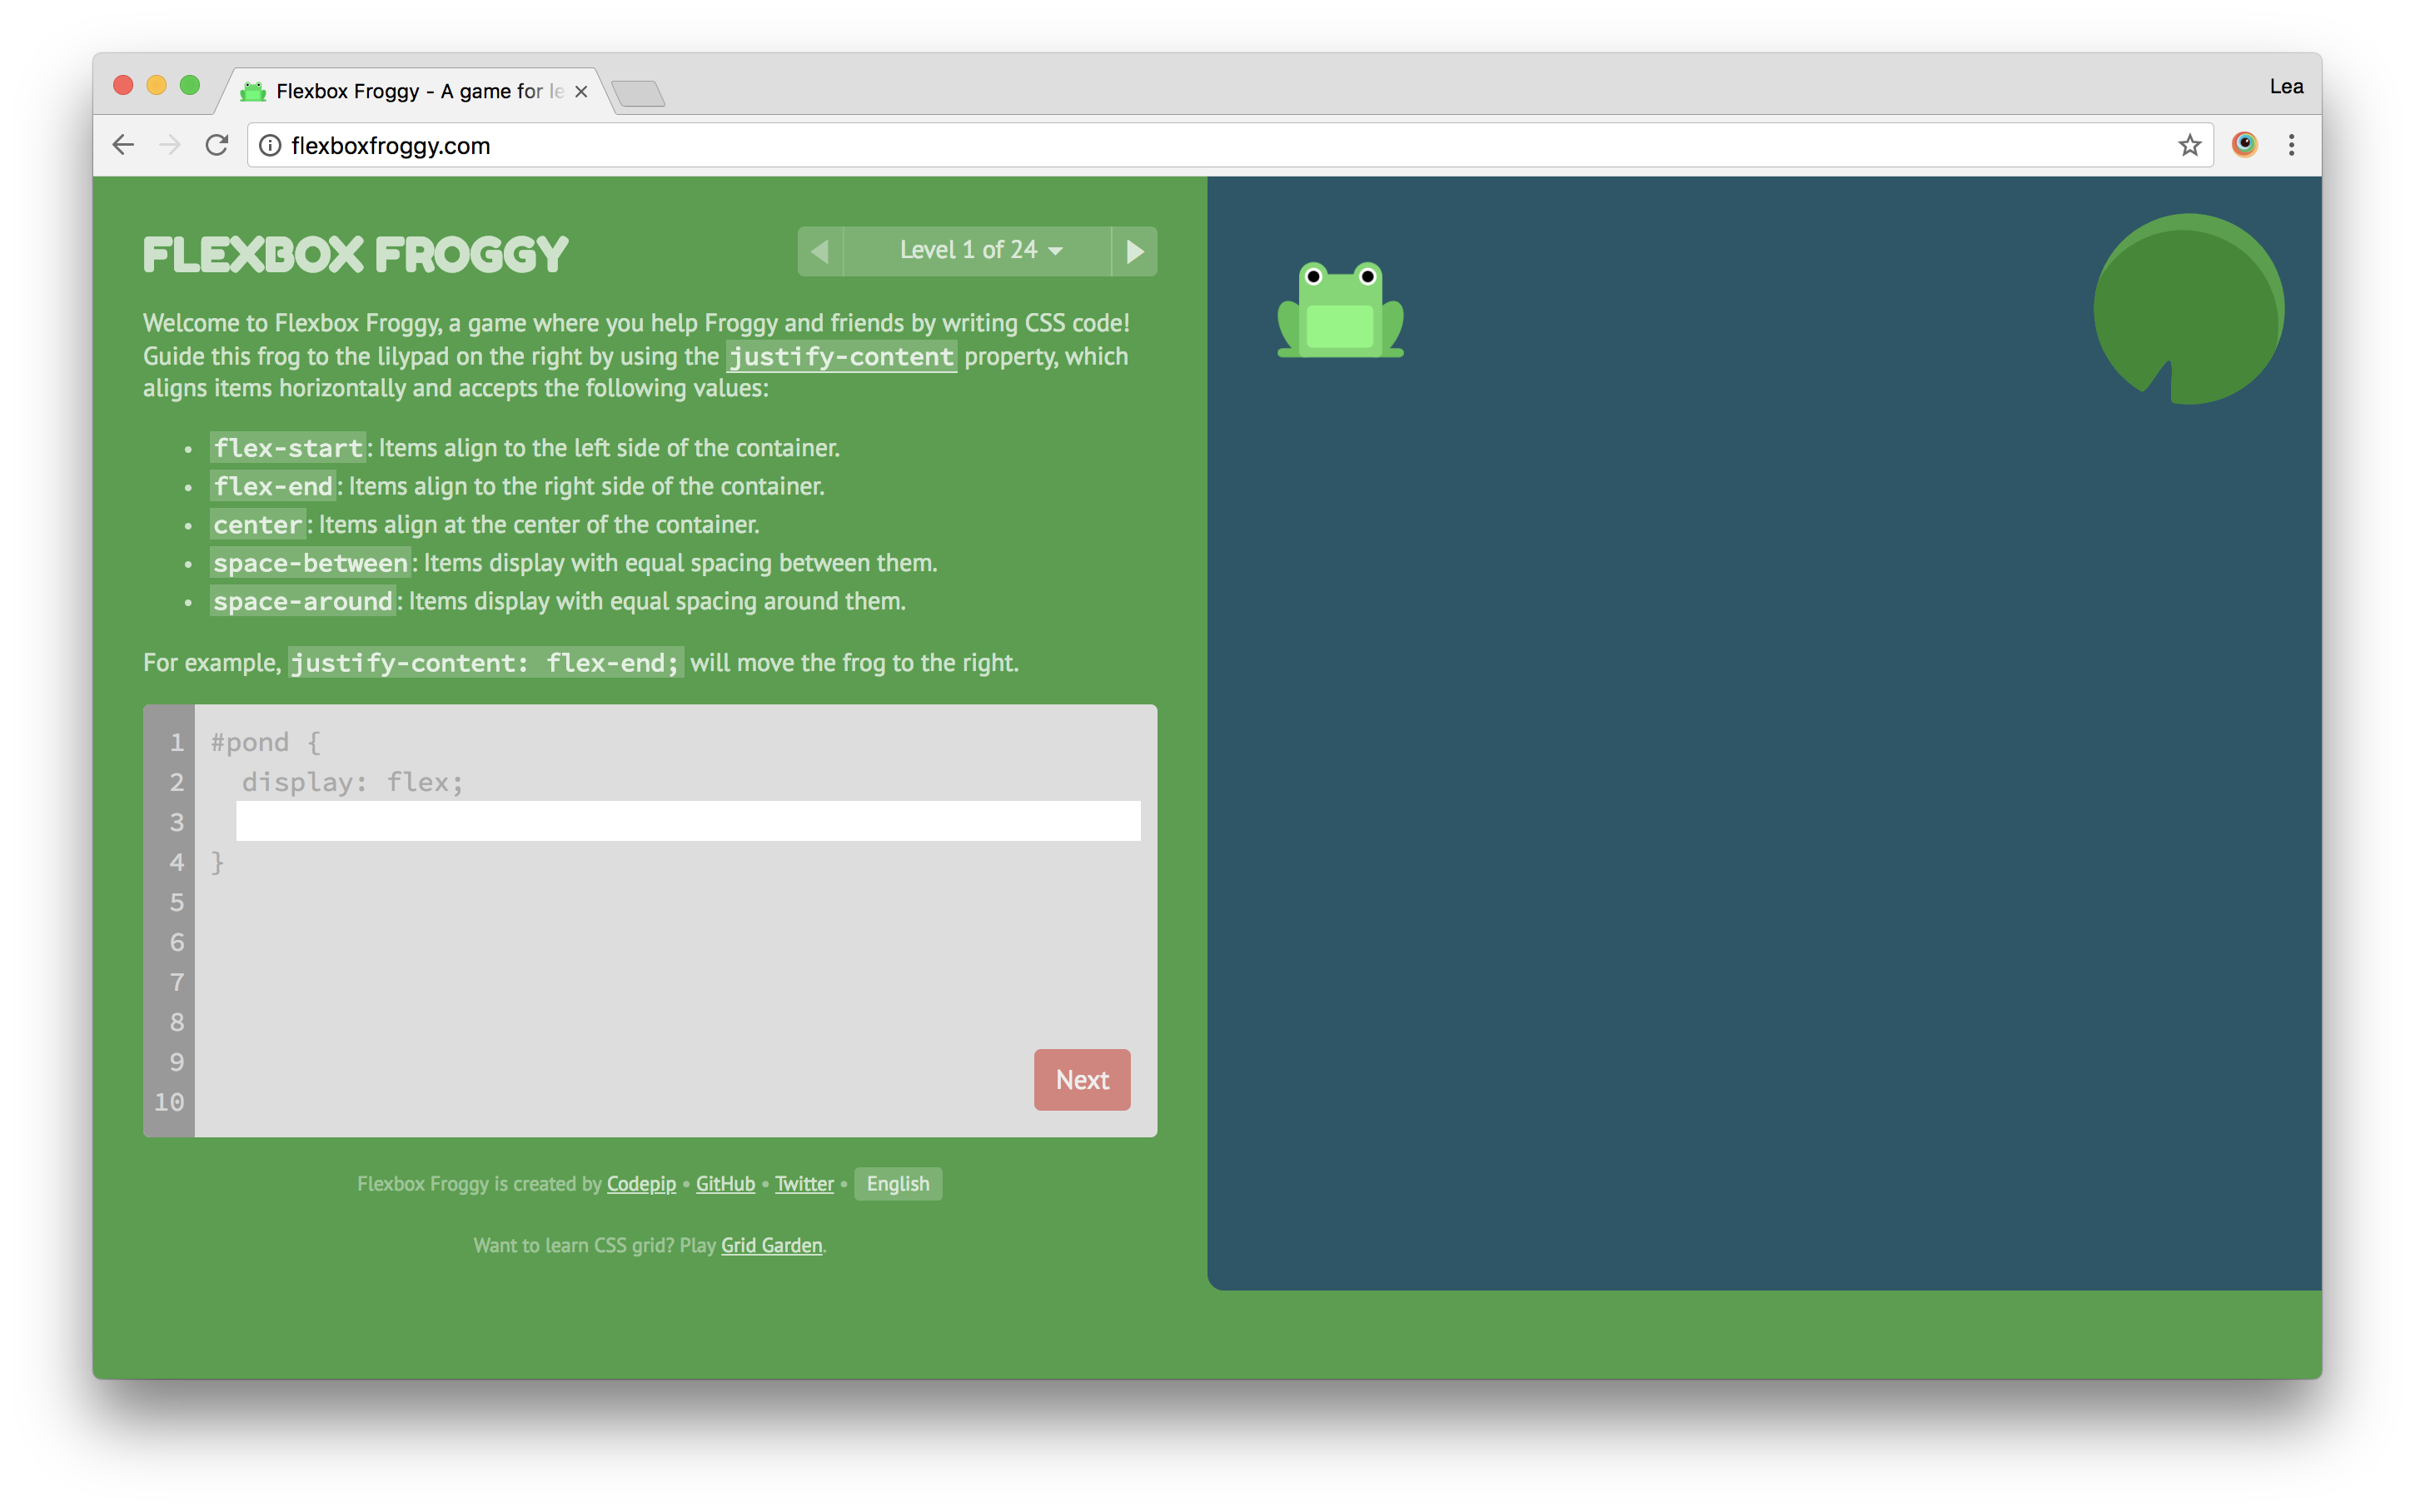
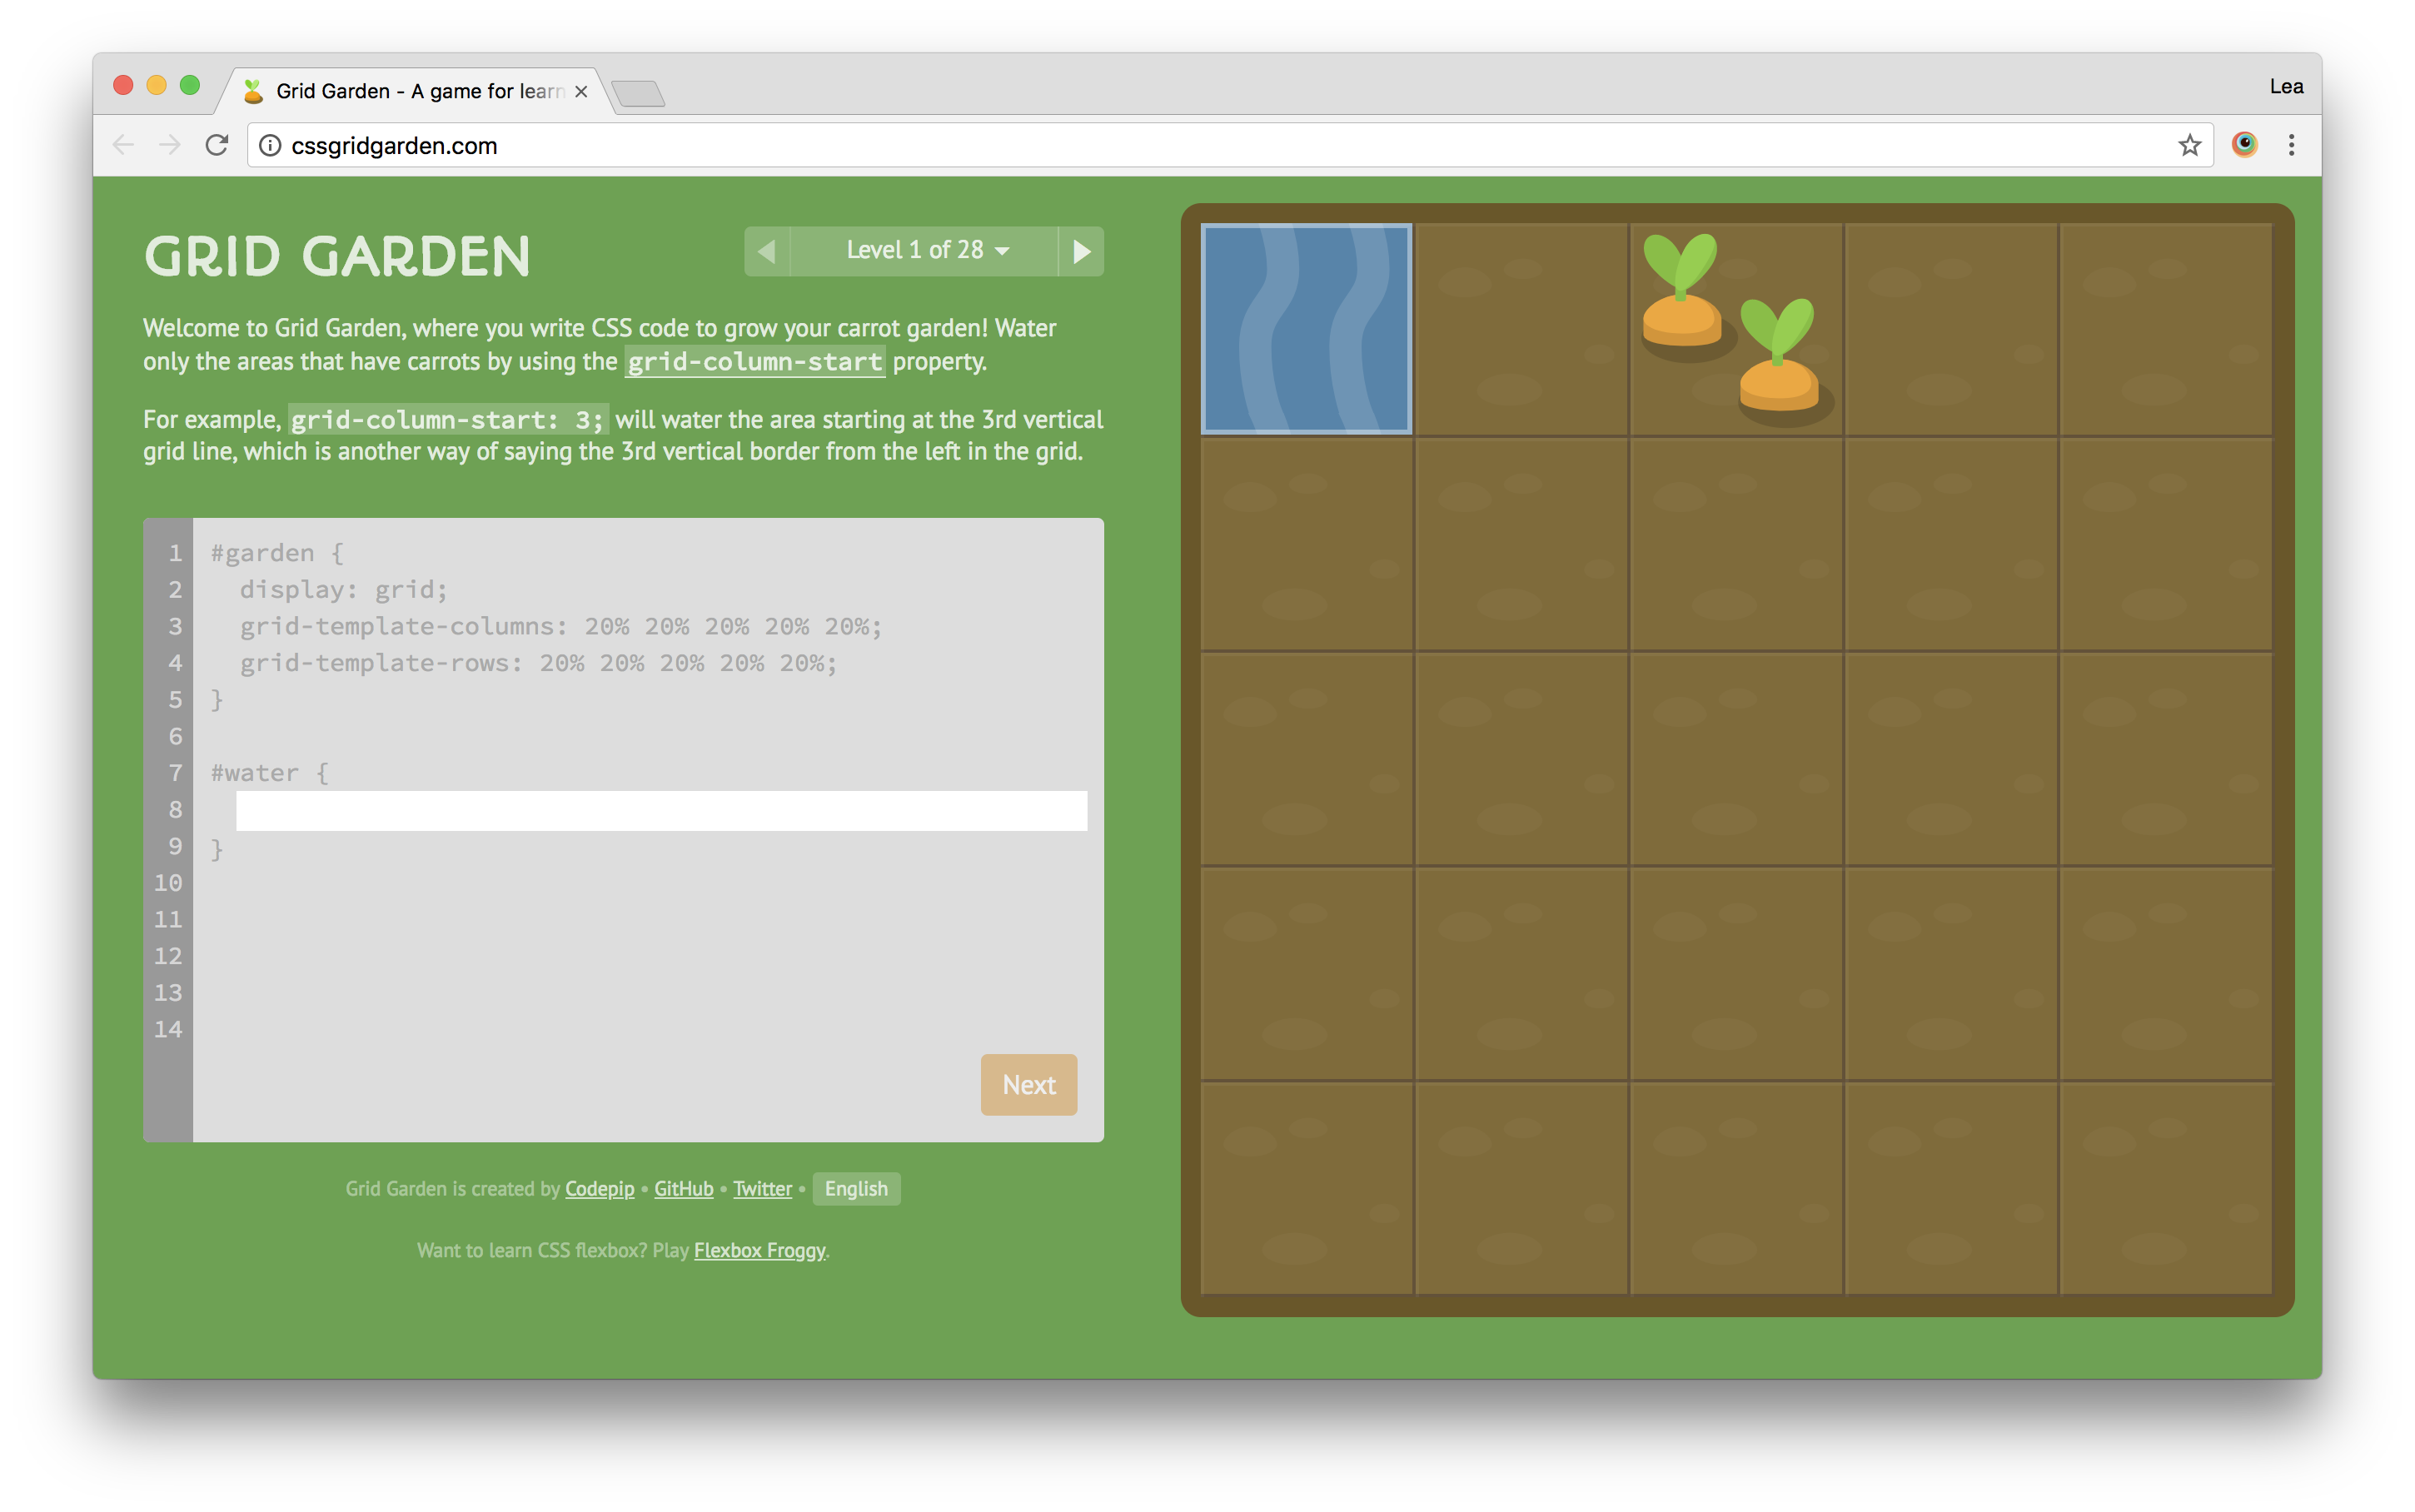
Instructions

An Introduction to Modern Web Technologies for programmers & Computer Scientists

By Lea Verou (@LeaVerou)

HTML

Structure

“What does it mean?”

.html

CSS

Presentation

“How does it look?”

.css

JavaScript

Behavior

“What does it do?”

.js
Hello <em>world</em>! Open page in new tab
  • Even if we don’t add <html>, <head>, and <body> elements, the browser will do it for us.
  • The browser offers us Developer Tools that allow us to peek under the hood and inspect the current state of the page and even modify it.
  • Note that some CSS is applied anyway, from the browser.

Our DOM Tree

  • The browser’s internal model of our HTML is called the DOM Tree
  • It’s a hierarchy of objects of different types, such as:
    • Document: This is the root node, and does not correspond to any HTML element.
    • HTMLElement: Every HTML element, such as html, body, or em is of this type. Usually, they merely inherit from HTMLElement, and are an instance of a more specific type such as HTMLHtmlElement, HTMLBodyElement and so on.
    • Text: Text nodes, such as "Hello ", "world", and "!" in our example. These never contain any other element, they are always leaves.
    • Comment: HTML comments (<!-- like this -->) are represented by objects of this type.
  • We can interact with, and manipulate the DOM tree via JavaScript!
  • The Console tab allows us to experiment with JavaScript.
  • $0 always refers to the currently selected element. $1 to the previously selected element, $2 to the one before it and so on.
  • element.textContent gives us the content of an element as text. Try changing it!
  • Other useful properties you could play with:
    • parentNode
    • childNodes
    • children
    • previousSibling
    • nodeType
<!DOCTYPE html> <html lang="en"> <head> <meta charset="UTF-8"> <title>My first page!</title> </head> <body> Page Content goes here! </body> </html> Open page in new tab
Hello
<a href="http://ft.com/world">​world </a>
Open page in new tab
Attributes allow us to control parameters of each element

Heading 1

Heading 2

Heading 3

Heading 4

Heading 5
Heading 6

Paragraph

  • 6 levels of headings
  • Do not use just to make text bigger, it breaks navigation for visually impaired users. Use CSS instead, which gives you more control anyway.
  • Use <h1> only once per document

Haystack Group

<a> element specification

  • a elements let you link to other websites or even places in the current page.
  • The href attribute contains the link target, which is an absolute or relative (to the current page) URL
  • The content of the link is the text presented. Sadly there is no shortcut if you want to show the URL itself, you have to duplicate it (or automate this via CSS or JS).
  • To link to a specific place in a page, you need to find an element with an id attribute near that place. Then, you can just add #id to the URL.
  • You can link to specific places in the current page as well, if you just use #yourId as the URL.
A kitten, roughly 3 weeks old
  • Item 1
  • Item 2
  1. Item 1
  2. Item 2
First name:
Lea
Last name:
Verou
  • There are three types of lists: unordered lists (<ul>), ordered lists (<ol>), and definition lists (<dl>) for key-value pairs

  • The <input> element can generate a wide variety of form controls, differentiated by the type attribute. If no type attribute is present, type="text" is assumed.
  • The following only applies to textual inputs (text, url, email, tel etc):
    • The placeholder attribute shows placeholder text when the field is empty. This is available on <textarea> too.
    • The pattern attribute allows you to restrict input. This does not currently work on <textarea>s, but there are efforts to make it so.
  • In numerical and date inputs (number, range, date, time etc), the min and max attributes allow you to restrict the range of input.
  • On number and range inputs, you can use the step attribute to control the increment (1 by default).

  • Group radio buttons via the name attribute.
  • Set checked state on checkbox and radio buttons via the checked attribute
  • <label> elements are very useful for all form controls, but especially checkboxes and radios as they increase the target area!
  • Depending on the number of options, different form controls are more appropriate for usability:
    • For < 4 options, prefer radios, as they are the most efficient.
    • Between 5-20 options, <select> menus are ideal
    • For longer than 20 options, search time for <select> menus becomes longer than typing the first few characters. In those cases, use <input> with <datalist for autocomplete)
  • The <button> element creates buttons.
  • These buttons don’t do anything by themselves, but you can make them useful via JavaScript or <form> elements.
  • The action attribute of <form> elements controls which file will receive the submission. By default it's the current file.
  • What’s submitted? Only elements that are enabled and have a name attribute.

HTML

  • SVG is a vector graphics format for the Web.
  • You can embed SVG in your HTML, or you can store it as a separate file. The latter requires an xmlns="http://www.w3.org/2000/svg" attribute and has stricter syntax requirements.
  • Many graphics editors these days export SVG (e.g. Adobe Illustrator, Inkscape), but if you want dynamic graphics, you often have to get your hands dirty.
  • Its syntax is similar to HTML, but with different elements, such as circle, rect, path, polygon and many more.
  • Just like HTML, it can be styled with CSS, and supports a swath of CSS properties that uniquely apply to it.
h1 { color: white; background: black; }
  • The selector tells the browser which elements the rule is about, in this case h1 headings.
  • Declarations are property-value pairs. Each declaration controls a certain stylistic aspect.
  • Declarations are separated by semicolons. The last semicolon is optional (but recommended).
  • Here we can see two CSS properties: color which sets the text color, and background which sets the background.

			<!DOCTYPE html>
			<html>
			<head>
				<link rel="stylesheet" href="style.css">
				<style>
					a:not(:hover) {
						text-decoration: none;
					}
				</style>
			</head>
			<body>
				<h1 style="color: #f06">Title</h1>
			</body>
			</html>
		

3 ways to apply CSS to your page:

  • Via an external file and the link element. This is the recommended way.
  • By writing CSS in the style element
  • For one-off cases, by using the style attribute
  • Both link and style elements are only supposed to go in the head.

My first CSS code

One morning, when Gregor Samsa woke from troubled dreams, he found himself transformed in his bed into a horrible vermin.

He lay on his armour-like back, and if he lifted his head a little he could see his brown belly, slightly domed and divided by arches into stiff sections.

The bedding was hardly able to cover it and seemed ready to slide off any moment.

His many legs, pitifully thin compared with the size of the rest of him, waved about helplessly as he looked. "What's happened to me? " he thought. It wasn't a dream.

  • Here we can see our first few CSS properties:
    • font-family: Sets the font, in order of preference. Because on the Web you don’t exactly know which fonts the user has installed, you provide a list of fonts with a generic fallback at the end.
    • color: Sets the text color (which is also the default color for several other effects, such as borders and shadows)
    • hyphens: Enables hyphenation
    • text-decoration: Sets or (in this case) cancels text underline/overline.
  • We can also modify CSS via the Styles tab in the Elements panel of the dev tools. This also shows us what CSS applies each time.

Simple Selectors

Most Common selectors * element .class #id
Attribute selectors [attr] [attr="value"] [attr^="starts"] [attr$="ends"] [attr*="anywhere"]
Useful pseudo-classes :hover :focus :checked :target :not(selector) :invalid
  • The universal selector, type selector, class selector, id selector, attribute selectors, pseudo-classes are called simple selectors
  • Concatenating simple selectors intersects them (i.e. it is equivalent to an AND operation). The result is called a Compound Selector E.g. a.docs:hover matches an <a> element with the class docs that is currently being hovered.
  • Structural pseudo-classes match elements based on their position among their siblings in the tree. Here we explore the :*-child family of pseudo-classes.
  • :first-child and :last-child match elements who are first and last among their siblings, respectively.
  • :only-child is equivalent to :first-child:last-child
  • :nth-child() is a generalization. It accepts an argument of the form An+B (e.g. 2n+1) and matches elements whose position among their siblings matches the argument for some non-negative integer n. A and B can be negative.
    • :nth-child(even) is equivalent to :nth-child(2n) and matches each 2nd, 4th, 6th etc child.
    • :nth-child(odd) is equivalent to :nth-child(2n+1) and matches each 1st, 3rd, 5th etc child.
    • :nth-child(3n+1) matches every 3rd child starting from the first.
    • :nth-child(1) is equivalent to :first-child
    • Activity: Select the first 4 items. Now select items 2-5!
  • :nth-last-child() is exactly the same as :nth-child() but starts counting from the end.
    • :nth-last-child(1) is equivalent to :last-child
    • Activity: Select the first item, only when the total count of its siblings is ≥3
  • There is also a :*-of-type family of pseudo-classes, with exactly the same syntax, that only counts elements of the same type. You can experiment with it here

Combinators and logical operations

Name Syntax What it does Example
:not() pseudo-class E:not(F) Basically NOT. E must match and F must not match for this selector to match. a:not(:hover):not(:focus): An <a> element that is neither hovered nor focused.
Descendant combinator E F F must be a descendant of E, i.e. inside it somewhere. li li: List items of level 2 or more.
Child combinator E > F F must be a direct child of E. Stricter form of the descendant combinator. ul > li: List items that belong to unordered lists.
Sibling combinator E ~ F F must be a sibling of E, somewhere after it. input[type="checkbox"]:checked ~ *: Any element that follows a checked checkbox
Adjacent Sibling Combinator E + F F must be a sibling of E, and must immediately follow it. Stricter form of the sibling combinator. h2 + p will match all <p> elements that directly follow an <h2>.
Selector List E, F Basically OR. E and F don’t actually need to be simple selectors here, they can be anything. nav a, .button: <a> elements inside a <nav> element OR anything with a button class.
Screenshot of mit.edu
  • Selectors are not only useful for styling, but also to get references to elements in the DOM tree. Let’s put our knowledge to use by exploring an existing website!
  • JS has the function document.querySelectorAll("selector") to get all the elements in a document that match a given selector!
  • There is also document.querySelector("selector") if we only need the first one (faster).
  • Because these are ridiculously long, the Console gives us shortcuts: $$("selector") for all matches and $("selector") for the first one. Try it on the MIT website: Type $("h1") in the console to find the website title!
  • Note that hovering over the element highlights it in the page. But what if we want to see it in the Elements panel? Easy peasy, just use the inspect() function: inspect($("h1"))
  • Now try $$("h2") to get all second level headings.
  • This returned an array with 7 elements. To actually get an element from it, we use the brackets notation, like $$("h2")[0] for the first one.
  • Count how many elements there are with the length property (e.g. $$("h2").length).
  • Activities:
    • How many elements does this page have total?
    • How many links? How many of them are to https:// URLs?
    • How many form elements are there?
    • What’s the maximum level of list nesting?
    • What’s the maximum number of children an element has in that page?
  • CSS resolves conflicts via selector specificity, not source order.
  • Specificity is calculated as follows:
    1. Count the number of ids in the selector (= A)
    2. Count the number of classes, attribute selectors, pseudo-classes (except :not()) (= B)
    3. Count the number of tag selectors (= C)
    4. Specificities are compared by comparing the three components in order: the specificity with a larger A value is bigger; if the two A values are tied, then the specificity with a larger B value is bigger; if the two B values are also tied, then the specificity with a larger C value is bigger; if all the values are tied, the two specificities are equal.
  • If specificity is the same, then the conflict is resolved based on source order.
  • We can also modify CSS via JavaScript! Open this page in a new tab, then inspect the article element and run $0.style.backgroundColor = "gold"; Note that this CSS has much higher priority than anything else!

🤺 Specificity battle! 🤺

>
  • This little piggy went to market
  • This little piggy stayed home
  • This little piggy had roast beef
  • This little piggy had none
  • And this little piggy cried wee wee wee all the way home
  • Some properties are inherited by default, and some are not.
  • Use the value inherit to inherit from a non-inherited property and the value initial to reset an inherited property.
  • Inherited declarations always have lower priority than those targeting the element directly.
  • RGB is modeled after 8 bit subpixel voltage, not human usability. It's very hard to adjust a color.
  • Hex colors are the least intuitive format: It’s RGB that is additionally hex-encoded! Mainly useful for copying from a color picker.
  • Named colors are readable, but few, irregularly distributed and often internally inconsistent (e.g. darkgray is lighter than gray!)
  • HSL is probably the most human-friendly out of the currently supported formats, but has its issues too (e.g. hsl(60, 100%, 50%) and hsl(240, 100%, 50%) have the same HSL lightness, but are they equally light?)
  • rgba() and hsla() accept a 4th parameter for alpha (i.e. transparency.)
  • Resources:
  • The background-image property sets the background to the specified image(s).
  • You can link to images via the url function, or generate them via the several gradient functions:
    • linear-gradient
    • repeating-linear-gradient
    • radial-gradient
    • repeating-radial-gradient
    Gradients can be very powerful, as illustrated by this gallery.
  • There is a bunch more background-related properties to control aspects of the background:
    • background-color
    • background-repeat
    • background-size
    • background-position
    • background-clip
    • background-origin
    • background-attachment
  • You can also use the background property to specify all these at once. Because background is a property that is defined in terms of other sub-properties, we say it’s a shorthand (and its properties are longhands).
  • Caveat: Every time you use a shorthand, you’re setting all its longhands, whether you specified values for them or not!
  • Both background and all its longhands (except background-color) accept multiple comma-separated values. This is very useful for creating "layers" of backgrounds.

Shorthands & Longhands

Bacon ipsum dolor amet alcatra meatball burgdoggen, venison ham hock turkey shoulder pancetta swine brisket jowl.
The Box Model
  • padding controls the spacing from the element’s content to its edge. margin specifies the spacing from the element’s edge to the elements around it. border allows you to specify a visible border. It’s placed outside the padding.
  • Padding & border widths are added to width and height, not subtracted from it.
  • You can change that with box-sizing: border-box
  • You can use the browser developer tools to inspect the box model, via the "Computed" tab in the Elements panel.
  • There are more units besides px that you can use anywhere a length is required!. Some useful units are:
    • % refers to a different thing depending on the property. Look it up on a case-by-case basis!
    • em is relative the current font size
    • rem is relative to the current font size of the html element
    • ch represents the width of the "0" glyph in the current font. This is useful in monospaced fonts where every character has the same width.
    • vw is a percentage of the viewport width (100vw = viewport width)
    • vh is a percentage of the viewport height (100vh = viewport height)
  • Font-relative units are useful in making components that scale by changing one property (the font-size).
  • Viewport-relative units are useful in making layouts that scale nicely with the viewport size.
  • Use calc() to perform calculations between different units.
  • We can use some JS to make the button happy after it’s clicked! Open the page in a new tab, then inspect the element and type in the console: $0.addEventListener("click", function(event) { this.textContent = "Thank you! 😊"; })

Events


			$0.addEventListener("click", function(event) {
				this.textContent = "Thank you 😊";
			});
		
  • Events allow you to run code when something happens.
  • In JS, you attach event listeners with element.addEventListener, where element is a reference to your element in the DOM tree.
  • Its mandatory arguments are the name of the event as a string, and a function to be executed.
  • Yes, in JS functions are objects and can be passed around in arguments! 🤯
  • When the function is called, it will receive the Event Object as an argument, which contains information about what happened.
  • this in that function will refer to the element that you attached the event to.
  • You can find a list of available events on MDN

Basic document flow

I am a basic block level element. My adjacent block level elements sit on new lines below me.

By default we span 100% of the width of our parent element, and we are as tall as our content. Our total width and height is our content + padding + border width/height.

We are separated by our margins. Because of margin collapsing, we are separated by the width of one of our margins, not both.

Inline elements like this one and this one sit on the same line as one another, and adjacent text nodes, if there is space on the same line. Overflowing inline elements will wrap onto a new line if possible (like this one containing text), or just go on to a new line if not, much like this image will do:

One morning, when Gregor Samsa woke from troubled dreams, he found himself transformed in his bed into a horrible vermin.

He lay on his armour-like back, and if he lifted his head a little he could see his brown belly, slightly domed and divided by arches into stiff sections.

  • Positioning allows you to take elements out of the normal document layout flow, and make them behave differently, for example sitting on top of one another, or always remaining in the same place regardless of scrolling.
  • The position property controls which positioning scheme is used. Its initial value is static, which corresponds to the default document flow.
  • What do you notice when position: absolute is applied?
  • To control the element offsets, we use the top, right, bottom, left properties. These are relative to the element’s containing block, which is determined by the following algorithm:
    1. Find the closest ancestor whose position property is not static or who has a transform or filter property set.
    2. If no such ancestor is found, we use the initial containing block, which is a rectangle with the same dimensions as the viewport, anchored to the top of the document.
  • Let’s make the element follow our mouse pointer, by using JavaScript to adjust the offsets!
  • position: relative does nothing by itself, but it has two consequences:
    • It makes this element the containing block of any positioned descendants.
    • The top, right, bottom, left properties will actually move the element, whereas they don’t do anything by default (i.e. under position: static).
  • position: fixed is just like absolute but the containing block is the viewport. This has the effect of the element staying in the same place during scrolling.
  • position: sticky is a hybrid of relative and fixed:
    • If the element is in view, it behaves like relative.
    • If the element is not in view (the user has scrolled), but its parent is, it behaves like fixed
    • If its parent gets out of view as well, it behaves like relative again
  • z-index controls which element is on top of what. Its initial value is auto which corresponds to source order.
  • When learning CSS, the precision of absolute positioning may be tempting, but avoid it: It will bite you back later, when you need to make changes!

			let firstParagraph = $("p:first-of-type");
			document.addEventListener("mousemove", function(event) {
				firstParagraph.style.top = event.pageY + "px";
			});
		
Screenshot of the bostonglobe article this link points to, that shows its paywall

One morning, when Gregor Samsa woke from troubled dreams, he found himself transformed in his bed into a horrible vermin.

He lay on his armour-like back, and if he lifted his head a little he could see his brown belly, slightly domed and divided by arches into stiff sections.

The bedding was hardly able to cover it and seemed ready to slide off any moment.

His many legs, pitifully thin compared with the size of the rest of him, waved about helplessly as he looked. "What's happened to me? " he thought. It wasn't a dream.

His room, a proper human room although a little too small, lay peacefully between its four familiar walls. A collection of textile samples lay spread out on the table - Samsa was a travelling salesman - and above it there hung a picture that he had recently cut out of an illustrated magazine and housed

  • Media Queries are like conditionals about the viewing conditions.
  • They support a bunch of criteria, but the most commonly used ones are the width and height of the viewport.
  • You can put any number of rules inside them.
  • You can use and and not operators, and commas for OR
💩
  • The transform property allows you to apply linear 2D and 3D transformations.
  • Its value is a list of functions, like scale(), rotate(), translate() etc
  • The functions are applied left to right and transform the coordinate system that the next transforms are operating on.
  • transform-origin sets the origin of the transformation, e.g. the centerpoint for a rotation. This property is applied by first translating the element by the negated value of the property, then applying the element's transform, then translating by the property value
  • There are also individual rotate, scale, translate properties, but they have limited support.
  • The space the transformed element was occupying does not change.
  • 💩
  • transition makes style changes smooth, whenever possible.
  • It is actually a shorthand of transition-duration, transition-delay, transition-property, transition-timing-function
  • The minimum it needs is a duration, but it also accepts a property, delay, easing.
  • Both transition and its longhands accept comma-separated lists, to create multiple transitions with different parameters for different properties.
  • Keyword changes cannot be interpolated, but lengths, numbers, colors, transforms etc can.
  • For custom easing functions, you can use the cubic-bezier() function. cubic-bezier.com allows you to generate these visually.
  • 💩
    • Animations are more complex than transitions but give us more control.
    • We define animations with the @keyframes rule.
    • We apply animations to elements with the animation property.
    • The animation property is actually a shorthand for:
      • animation-name: Which animation to run?
      • animation-duration: How long should each iteration last?
      • animation-delay: Any delay before it starts?
      • animation-iteration-count: How many times should it play? (number or infinite)
      • animation-timing-function: How should it progress over time?
      • animation-direction: Should any iterations be reversed?
      • animation-fill-mode: How should it behave before and after it’s applied?
      • animation-play-state: Should it be paused?
    • At a minimum, a name and duration is needed for an animation to play.
    • All animation properties accept comma-separated lists of parameters, to apply multiple animations on the same element.
    • We can monitor the progress of CSS animations via the animationstart, animationiteration, and animationend events.
    💩
  • Keyframes can cascade
  • alternate reverses every other iteration
  • Any animated properties that are not set in from and to get their values from the element’s current CSS.
  • display: flex enables Flexbox layout on an element. This element becomes the Flex Container and its children are called Flex Items.
  • flex: N defines the proportion that a flex item spreads over.
  • flex-direction: column on the flex container makes the items flow from top to bottom
  • align-items and justify-content on the flex container specify alignment in each direction. Which direction depends on the value of flex-direction
  • Name
    Sir Adam Catlace
    Species
    Feline
    Picture
    Born
    June 1st, 2014
    Nationality
    Greek
    Country of Residence
    United Kingdom
    Grid Layout
    • display: grid enables Grid layout on an element. This element becomes the Grid Container and its children are called Grid Items.
    • display: grid doesn’t do much on its own, you also have to define the Grid template. There is a number of properties to do that, such as:
      • grid-template-rows
      • grid-template-columns
      • grid-template
      • …and many more
    • The 1fr unit allows us to distribute the available space in fractions without having to do any math with percentages.
    • The grid-gap property allows us to set spacing between the grid cells.
    • The grid-row and grid-column properties allow us to place items on specific rows and/or columns. Note that multiple items can be placed in the same cell, and then they will overlap!

    My awesome website

    Main area
    Footer
    • grid-template-areas allows you to define named areas in your grid.
    • grid-area allows you to assign an element to a named area.
    • You can use the browser developer tools to inspect your grid.

    Grid Layout

    • CSS variables (aka Custom Properties) start with -- and behave like normal CSS properties.
    • We read their value via the var() function and we can use that anywhere (including inside calc()), except inside url().
    • They are dynamic, and can be set in the inline style or even via JavaScript!
    • They help reduce repetition, and thus make code more maintainable. They also help encapsulation: Other people can use your components and style them via the variables you have exposed, without having to know and override the internal structure of your CSS.
    • Notice the repetition here: We have to repeat the button color 3 times! And changing it requires repeating so much code. How can CSS variables help us reduce this repetition and create themes more easily?
    • Now let’s suppose we want to change the cover effect to use an inset box-shadow instead of a background, so that (in combination with transition) the background "animates in" instead of changing abruptly. How do CSS variables help encapsulation here? Do any third parties using our widget need to know about this change? Would they need to know otherwise?
    
    			// Get CSS variable value from style attribute
    			element.style.getPropertyValue("--foo");
    		
    
    			// Get CSS variable value from wherever
    			getComputedStyle(element).getPropertyValue("--foo");
    		
    
    			// Set CSS variable in style attribute
    			element.style.setProperty("--foo", 38 + 4);
    		
    • CSS Variables are dynamic, unlike most types of variables you have seen before. You can update them with JS and they update everywhere they are used!
    • The methods shown in this slide are much older than CSS Variables. They were originally added so we can get/set CSS properties without a special camelCase syntax, but you can also use them for CSS Variables.
    • This allows a clean separation of behavior and styling: You can avoid setting specific CSS styles in JS and just pass any necessary values via CSS variables.
    
    			document.addEventListener("mousemove", function(event) {
    				let x = event.clientX / innerWidth;
    				let y = event.clientY / innerHeight;
    				let root = document.documentElement;
    
    				root.style.setProperty("--mouse-x", x);
    				root.style.setProperty("--mouse-y", y);
    			});
    		
    • Let’s make the center of the gradient follow our mouse!
    • CSS variables can be useful for SVG too! Let’s try to move the eyes with a CSS variable.
    • Remember the --mouse-x and --mouse-y CSS variables? They are still active! Let’s use --mouse-x to make the eyes follow the mouse cursor!
    • Pseudo-elements start with :: and correspond to parts of elements or new content (Generated Content).
    • Some popular pseudo-elements are:
      • ::first-letter Useful for creating drop caps ::first-line Allows you to differentiate the first line of content ::before Generate & insert new content before the element’s content ::after Generate & insert new content after the element’s content
    • ::before and ::after have no effect without the content property which specifies the content to insert.
    • This new content can be:
      • Strings
      • Images
      • The attr() function
      • The counter() function
      • Any space-separated combination of the above

    CSS

    JavaScript
    (Open your consoles!)

    
    			<!DOCTYPE html>
    			<html>
    			<head>
    				<script src="code.js"></script>
    			</head>
    			<body>
    				<script>
    					console.log("hi");
    				</script>
    			</body>
    			</html>
    		

    2 ways to run JS in your page:

    • Via an external file and the script element. This is the recommended way.
    • By writing JS inside the script element
    • script elements can go anywhere in your HTML, they are not restricted to the head.
    • You can define variables with let.
    • You can output content to the console with console.log(). This is very useful for debugging.
    • Open the console and click run to see the result.
    • let is block-scoped, var is function-scoped.
    • Move the second console.log() statement into the conditional block and try again.
    • var can be referenced before it’s defined, let throws an error.
    • Try it for yourself: Change the var to a let and run again!
    • Arrays are defined with brackets ([])
    • Functions are defined in many ways. We have already seen function(){ /* code */ }. The shortest is the notation shown here (arrow functions).
    • The map() method of arrays allows you to transform them into something else.
    • Activity: Go to mit.edu again, and create an array with the textual content of all headings.
    • In JavaScript everything is an object, even functions!
    • Functions in JS are just objects of type Function that can also be called (via parentheses).
    • Important to distinguish reference to a function (no parentheses) from calling a function (with parentheses).
    • You can assign functions to variables.
    • Object literals are defined via braces ({}). They are similar to dictionaries or maps in other languages.
    • There are also constructors, just like other OOP languages. In fact, object literals are implicitly calling new Object() and the brackets notation for arrays is implicitly calling new Array().
    • Property names can have any character. Property names that only consist of letters, numbers, $, _ don’t need quotes.
    • Property names can be added or deleted at any point.
    • Take note of the two different notations to refer to property values. The brackets notation can be used for computed properties too!
    • The value of this inside a function is called Function context
    • this changes based on how the function is called.
    • Arrow functions do not have a this. When this is used inside them, it refers to whatever its value was outside the function.
    • Sometimes you pass a function as an argument to another function. When your function executes, it will likely be called with a different context.
    • What its context becomes depends on the function:
      • For setTimeout() it’s the window object.
      • For addEventListener() it’s the element the listener was bound on (which may be different than the actual event target, due to bubbling).
    • We can change the context a function is run with!
    • For one-offs, we can use the Function#call() method of Function objects.
    • To bind a function to a particular context and prevent anything from changing that, we can use Function#bind()
      • Caveat: foo.bind(bar) is a different object than foo!
      • bind() returns a new function whose context is always the one you specified. call() calls your original function with a specific context.

    📝 Context Quiz! 📝

    Code this in myFunc is…
    foo.myFunc()
    element.addEventListener("click", foo.myFunc)
    setTimeout(foo.myFunc, 100)
    foo.myFunc.call(bar)
    let myFunc = foo.myFunc;
    myFunc();
    let myFunc = foo.myFunc.bind(bar);
    myFunc();
    element.addEventListener("click", foo.myFunc.bind(bar));
    
    						element.addEventListener("click", function() {
    							foo.myFunc();
    						});
    					
    foo.myFunc.bind(bar).call(yolo)
    • Notice that we need to start interacting with the slider to get a value. Fix this example so that it starts with the current value.
    • Now we have 3 sliders! What to do?
      • We could attach three listeners in a loop.
      • Or, we could attach one, on a common ancestor and use event.target to figure out which slider moved. This practice is called event delegation
    • Most events bubble up the DOM tree. There is also a capturing phase, where the event starts from the root and propagates down. Bubbling and capturing is called Event propagation.
    • Some events don’t bubble, but all events have a capturing phase.
    • Functions can also be used as constructors, with the new operator.
    • That does not prevent them from being used as functions too!
      • In fact, JS’s own objects can often be used as both.
      • RegExp("a") and new RegExp("a") are equivalent.
      • Date() and new Date() are not. The former is a string.
    • JS different than other OO languages: it uses prototypal inheritance.
    • While prototype-based languages as uncommon, the mechanism is strictly more powerful than classical OO because classical OO can be emulated through prototypes anyway.
    • Try creating the Person object before greet() is defined. What do you notice?
    • The prototypes of native objects are also exposed and up for modification!
    • This is useful for polyfilling: implementing new language features when browsers don’t support them yet.
    • ECMAScript 6 (ECMAScript is the standard behind the JS language) brought a class syntax that is more similar to other OOP languages.
    • However, this is merely syntactic sugar over the prototype-based patterns of the past.
    • Asynchronous code is often executed via callbacks, i.e. functions passed as parameters to other asynchronous functions.
    • This means that if you have asynchronous code that runs after other asynchronous code, you end up with nested callbacks. When you have a lot of deeply nested callbacks, this is called callback hell
    • Promises help mitigate the callback hell problem since you rarely need more than 1 level of nesting with them.
    • They are objects that you can use to schedule future actions.
    • Initially, a promise is pending. Once a promise is resolved or rejected, it can never change state again.
    • You cannot directly inspect a promise’s status in your code. You can only schedule code to be executed when the promise is resolved via then(), or when it’s rejected, via catch()
    • The keywords async and await help with writing asynchronous code that looks linear and is easier to write.
    • Sadly, await is only valid inside async functions, but since you can define a function and execute it on the spot, you can work around it.
    • Try running this code: You will notice an error. How would you fix it?
    • fetch() allows us to send an HTTP request and fetch a remote resource.
    • To be able to fetch a resource via JavaScript it must be CORS-enabled.
    • fetch() returns a Promise that resolves with the response.
    • Activity: Change this to display a flag instead of the country code! There are flag images in img/flags in PNG format, with the country code as their filename.

    JavaScript